Nederlands
 Français
 Deutsch
 Italiano
 Español
 polski
Aluminum soldering is how you do it!
Aluminum soldering is easier and much stronger than you think.

Aluminum soldering is easier and much stronger than you think.
Keep a fire extinguisher or bucket of water nearby in case of an emergency.
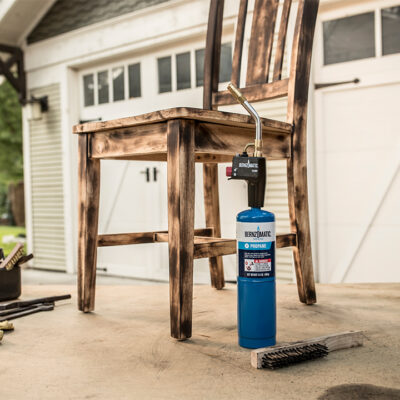
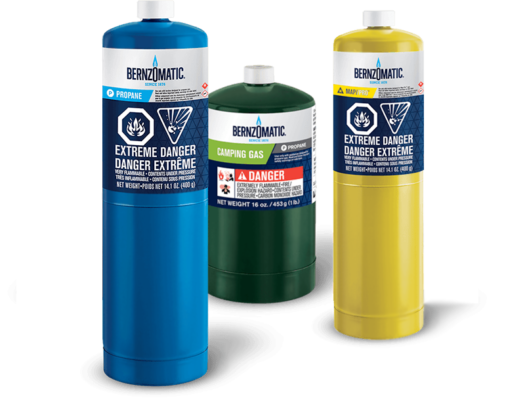
Bernzomatic burner (Pro/Max or propane)
Clearcoat spray (TIP)
Work gloves
Safety glasses
Wired/steel brush
Sandpaper
At the very bottom is the entire video tutorial from The practical Engineer b>
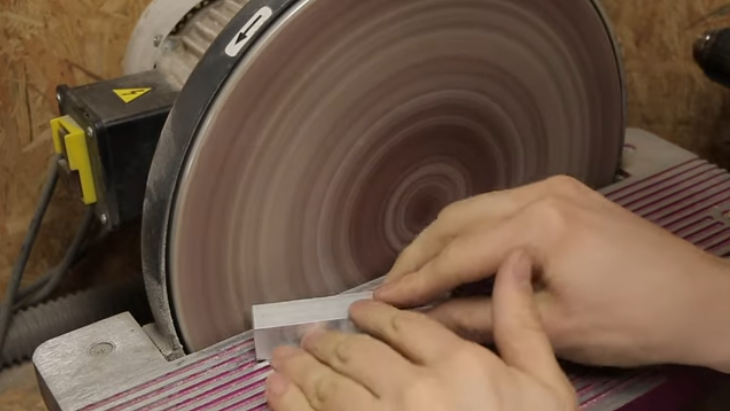
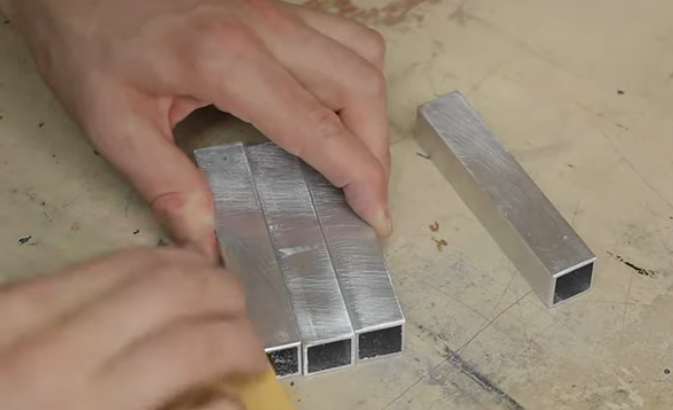
Aluminum is easy to work with. It is strong but quite soft and can be worked fine with a normal saw and abrasives. Consider woodworking tools such as a band saw and the sander
It is important to properly degrease and sand the aluminum. Make any bevels on the ends to allow the aluminum to flow better later, creating a larger soldering area. Because of the beveled edges, aluminum can easily flow into this which only makes the joint stronger.
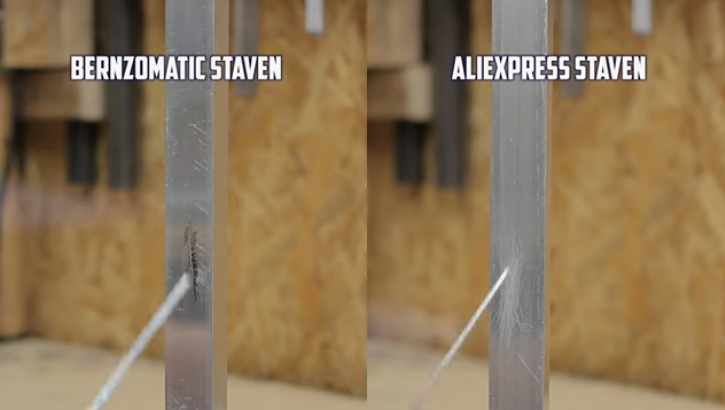
Aluminum soldering is not difficult. Following the steps correctly is essential. No flux is needed to solder aluminum. Bernzomatic has managed to make a very high quality aluminum soldering rod. This flows very well and is very strong. A Chinese “similar” product at Aliexpress absolutely does not flow. This will cause the aluminum to overheat and fall apart. Pay attention to this! Cheap is expensive.
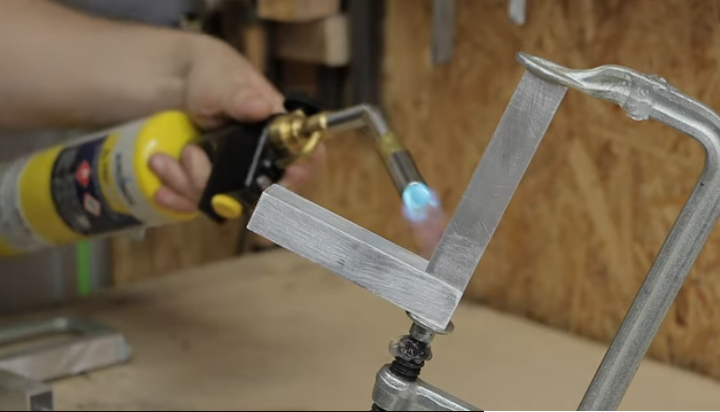
Use the Bernzomatic burner to heat the aluminum. The soldering rods melt around 365 degrees celcius, the aluminum itself only at 700 degrees celcius. But be careful not to overheat the aluminum. This is because it does not discolor when it melts, the aluminum just melts away all at once.
While soldering, still occasionally use the wire brush to remove the oxide skin around the aluminum. With this, you make sure it adheres better. The faster the whole thing is soldered together, the stronger it will become.
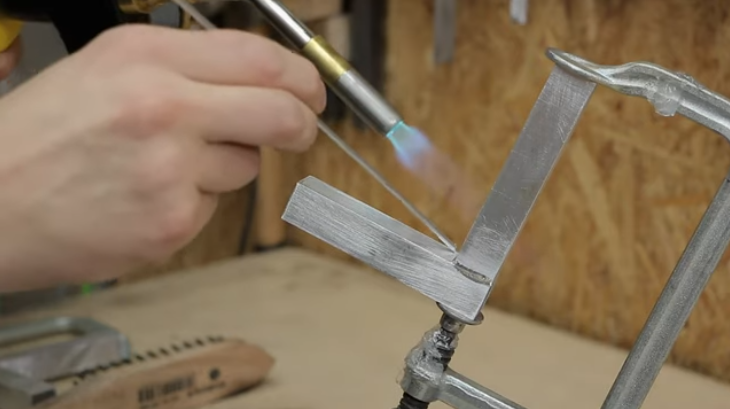
To check if the aluminum is hot enough, go over the joint to be soldered with the soldering rod, gently from top to bottom. At some point, you will naturally see that the solder rod is “sticking” a bit. Go over it with the rod a few times to fill the groove all the way nicely. Reheat the joint after this, so the solder soaks in extra well.
Try to melt the solder rods only with the temperature of the aluminum you have heated and not with the flame itself, that way it will be a lot neater and you will get a stronger connection. If the object is not hot enough and then you heat and melt the rod itself, the aluminum will not flow properly. It creates lumps and not a nice tight solder.
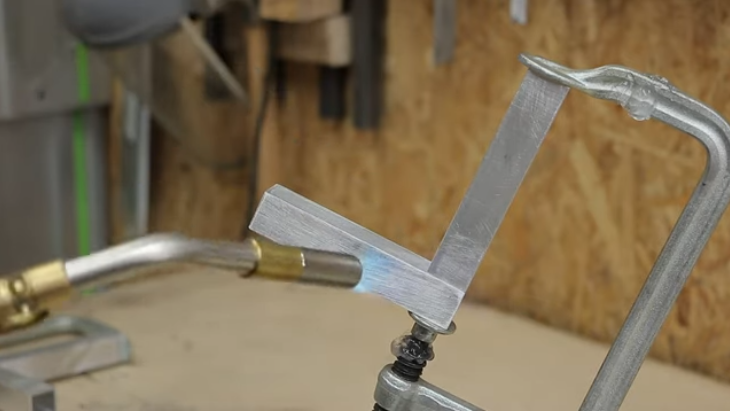
If the first solder is placed then it is wise to burn the whole thing a little more. This ensures that the whole thing will “fit together” nicely. Do not heat it too much; the aluminum should not flow away.
Multiple connections may need to be made. To protect your soldering, heat-resistant gel is a real godsend. You spray the gel in between the two solderings, as it were. The gel absorbs the heat so your first soldering will remain intact.
Shown here, you can protect all sorts of things with the gel that should not get hot. Simply spray the biodegradable gel and you’re good to go with the burner.

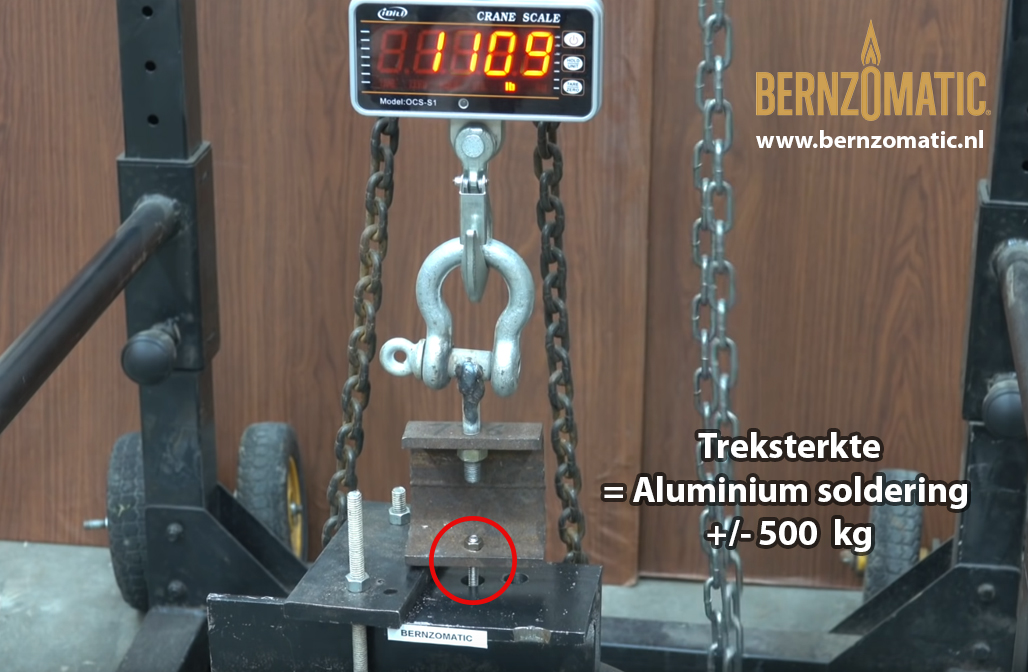
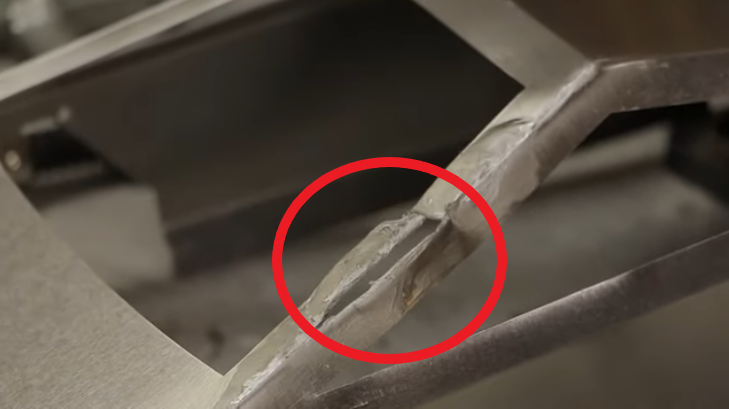
Aluminum brazing is a godsend when it comes to repairs of very many different applications. It is a lot cheaper than aluminum welding and therefore much easier. After a tensile strength test of + 500 kg, the solder can be classified as very strong. It is a perfect alternative (not a replacement) for aluminum welding. And is also very applicable to thin to very thin material. Which is virtually impossible with welding.
Video Credit: Emiel . The Practical Engineer
The TS8000 is the ultimate burner for all imaginable jobs that need to flame!